 PickGlobe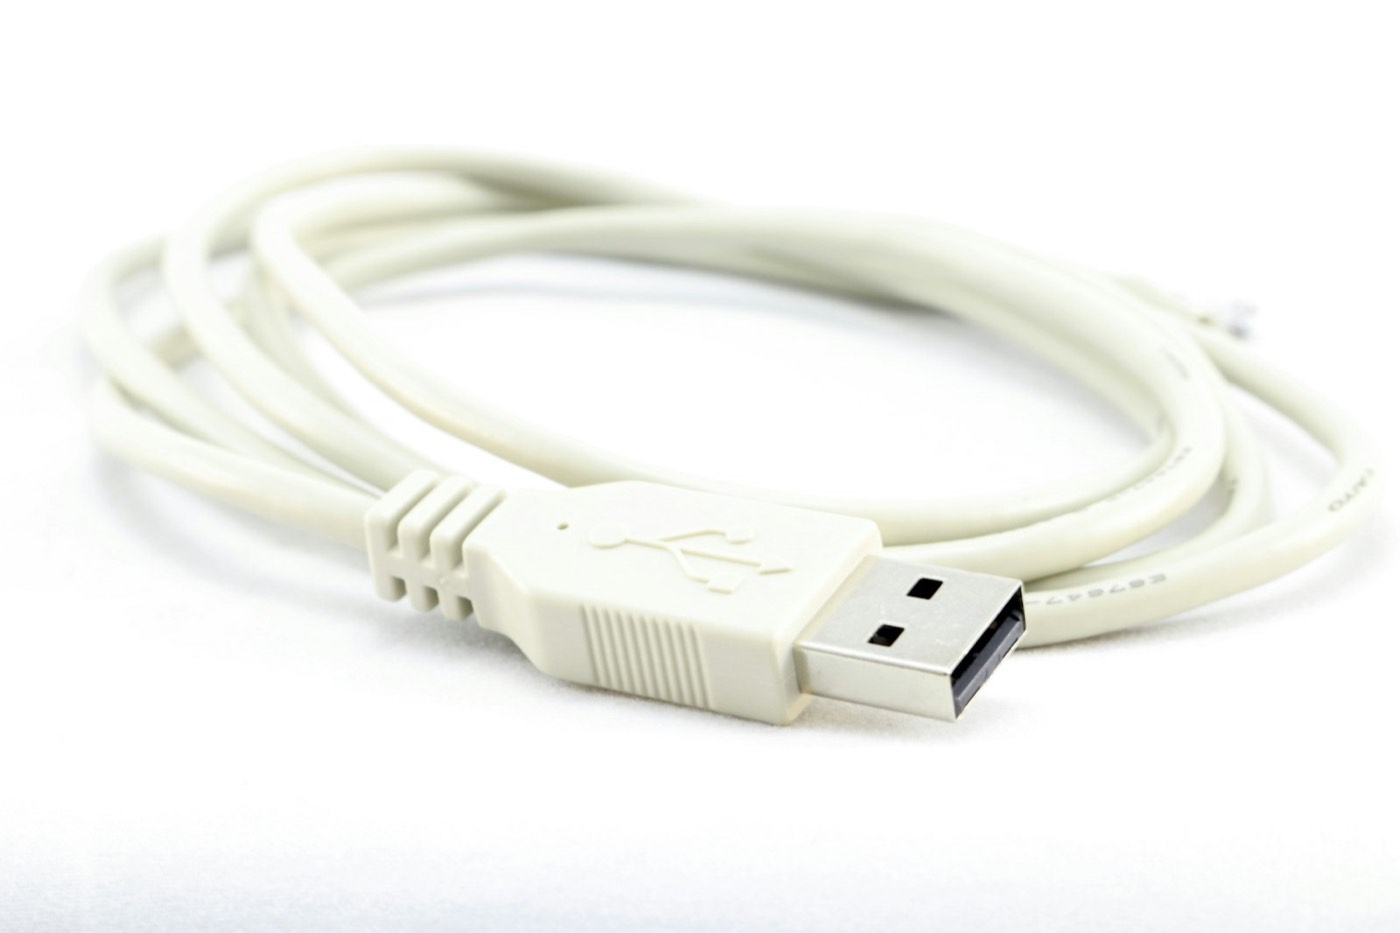
A Raspberry Pi is a small, low-cost computer that many people use to learn about computing, build projects or run small home tools. This guide summarises the official getting-started documentation from Raspberry Pi: what to buy, how to put the operating system on a memory card and what happens at first start. It then lists what to check before paying for a video course. It is general information, and results may vary by model and setup.
We have not tested any Raspberry Pi board, accessory or course named here. Always follow the instructions that come with your board and power supply.
What you need
Source: Raspberry Pi, "Getting started" documentation (raspberrypi.com/documentation/computers/getting-started.html). Read in a browser. Last checked: 18 October 2026.
- A memory card (boot media): the most common type is a microSD card, which holds the operating system. The page says any card under 2 TB can be used. It recommends at least 32 GB for the desktop version of Raspberry Pi OS and at least 8 GB for the Lite version.
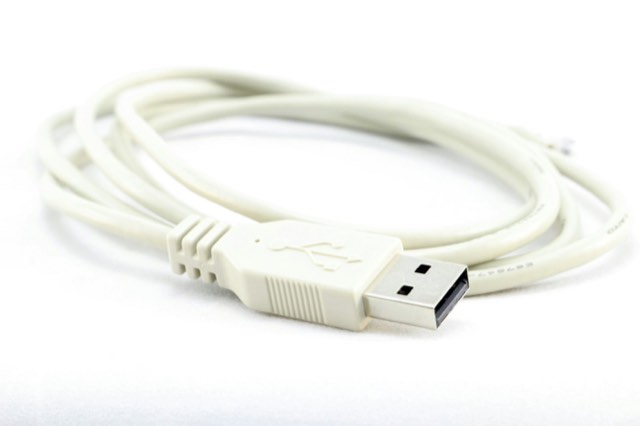
- A keyboard, a mouse and a display if you want a desktop setup. Keyboards and mice connect over USB. Raspberry Pi 4B, 400, 5, 500 and 500+ need a micro-HDMI-to-HDMI cable; Zero models need a mini-HDMI cable. Instead of peripherals you can use another computer on the same network and reach the Pi remotely (a "headless" setup).
- A power supply matched to your model. The page gives, for example, 5 V at 5 A (27 W USB-C) for the Raspberry Pi 5, 5 V at 3 A (15 W USB-C) for the 4B, and 5 V at 2.5 A (12.5 W Micro USB) for older models and Zero. It recommends an official supply.
- Optional: a case and an Ethernet cable for a wired connection.
Check the exact model you are buying: the cable and power supply differ between models.
Putting the operating system on the card
From the same page:
- Install Raspberry Pi Imager on another computer (Windows, Mac or Linux).
- Choose your Pi model, then an operating system.
- Insert the microSD card and select it as the storage. The page warns you to keep "Exclude system drives" selected so you cannot erase your own computer's drive by mistake.
- In the customisation step you can preset a hostname, username and password, Wi-Fi and remote access. You can skip this and do the setup at first start.
First start
Put the card in with the label facing away from the board, then connect power. The power light comes on and a boot screen appears on a connected display, which can take a few minutes. If you skipped customisation, Raspberry Pi OS asks for the setup details on first start. For a headless setup, remote access is available on first start.
Before you pay for a video course
- Match the course to your board. One example, the "Raspberry Pi Course for Beginners" (Mac and PC) on raspi-config.com, says its course is compatible with Raspberry Pi 4, 3, 2 and Zero models. The Raspberry Pi documentation also covers newer boards such as the 5, so if you own a newer board, check the course page or ask the seller first.
- Read the lesson list. That page lists 25 video lessons covering basics after the first start, software projects, hardware projects with cameras and sensors, home automation and introductory programming in Scratch and Thonny (Python). It says lessons 1 to 4 are free to watch, which is a good way to judge the teaching style before paying.
- Check the language. The course page is written in English, but the seller is a German vendor, so listen to a free lesson to confirm the audio language suits you.
- Check the price and refund terms. The page we read did not list a price. It describes a 60-day money-back guarantee. Read the terms at checkout.
- Ignore big promises. A course teaches steps; it cannot promise you a job, a certificate that employers will accept or an income. Testimonials on a sales page are not independent reviews.
- Free material exists. The official documentation above is free and covers the setup steps in this guide. A course is for people who prefer to follow videos.
Sources: Raspberry Pi, Getting started documentation; Raspberry Pi Course for Beginners (Mac and PC), seller's page (details as listed there on 18 October 2026).